
Drip Irrigation System Design and Operation
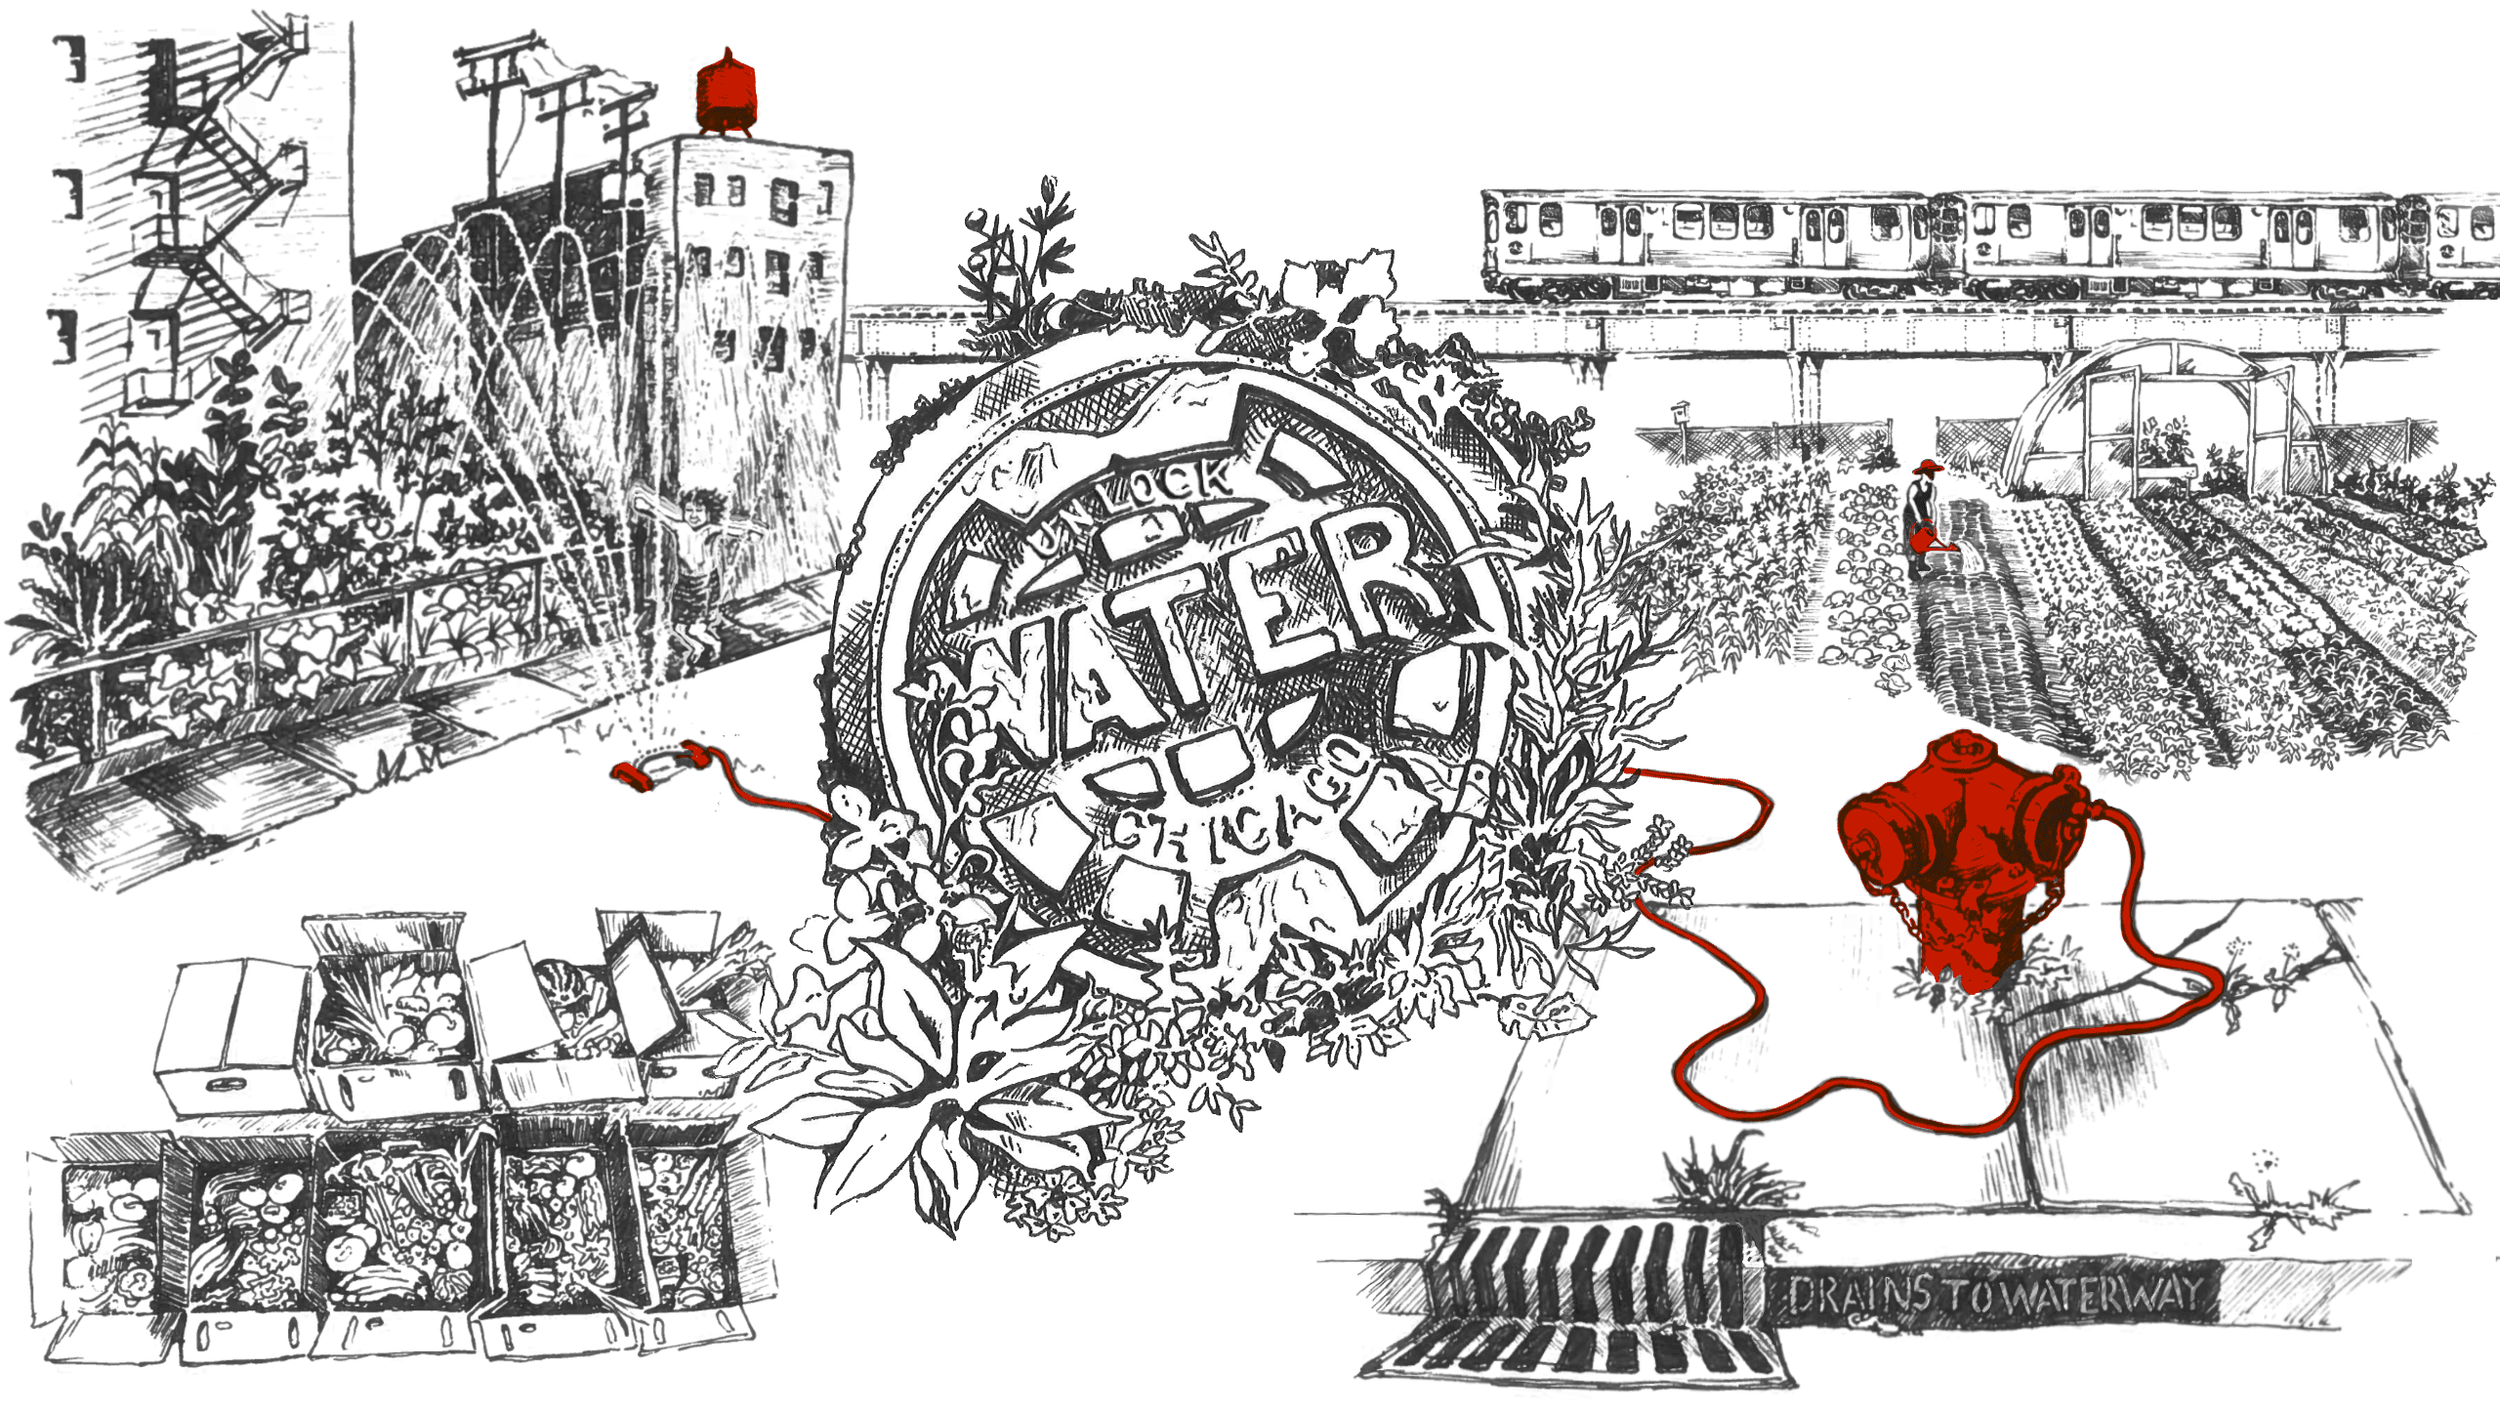
Drip irrigation systems are an excellent way to systematize and automate watering, a fundamental element to farming. They are extremely versatile systems that serve small gardens, medium-sized farms, hoop houses, vegetables, perennials, and even orchards. They greatly conserve water when compared to hand watering or sprinklers by delivering water directly to the soil and plants’ root systems–a more efficient way for plants to absorb water compared to absorption through the leaves, and safer for plant health. These systems are, however, by no means perfect. They are made principally of polyethylene plastic, which is both recyclable and a common pollutant found in landfills, the environment, and in organisms. Additionally, growers often use treated municipal water with these systems when untreated water would suffice. Lastly, they require regular maintenance like repairing leaks and winter storage, as opposed to passive systems.
We at Advocates for Urban Agriculture supply growers with equipment, provide technical assistance, and design and install irrigation systems, so we as an organization should provide some insight as to what they are, what they are not, and how to maintain or change your system. If you have any questions, thoughts, or concerns you are welcome to contact us at water@auachicago.org or visit the Water Access Program page for more information on all things water access.
Getting Started
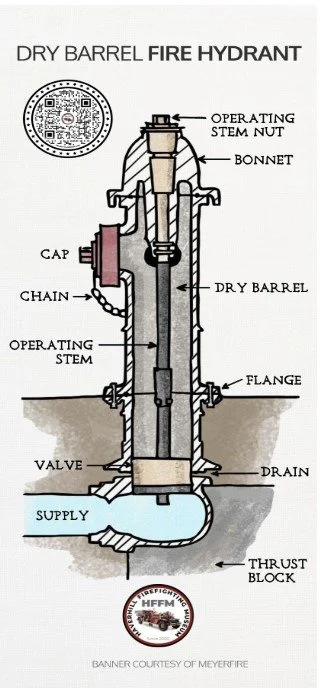
Make sure the valve is turned all the way to prevent damage to the hydrant and surrounding soil.
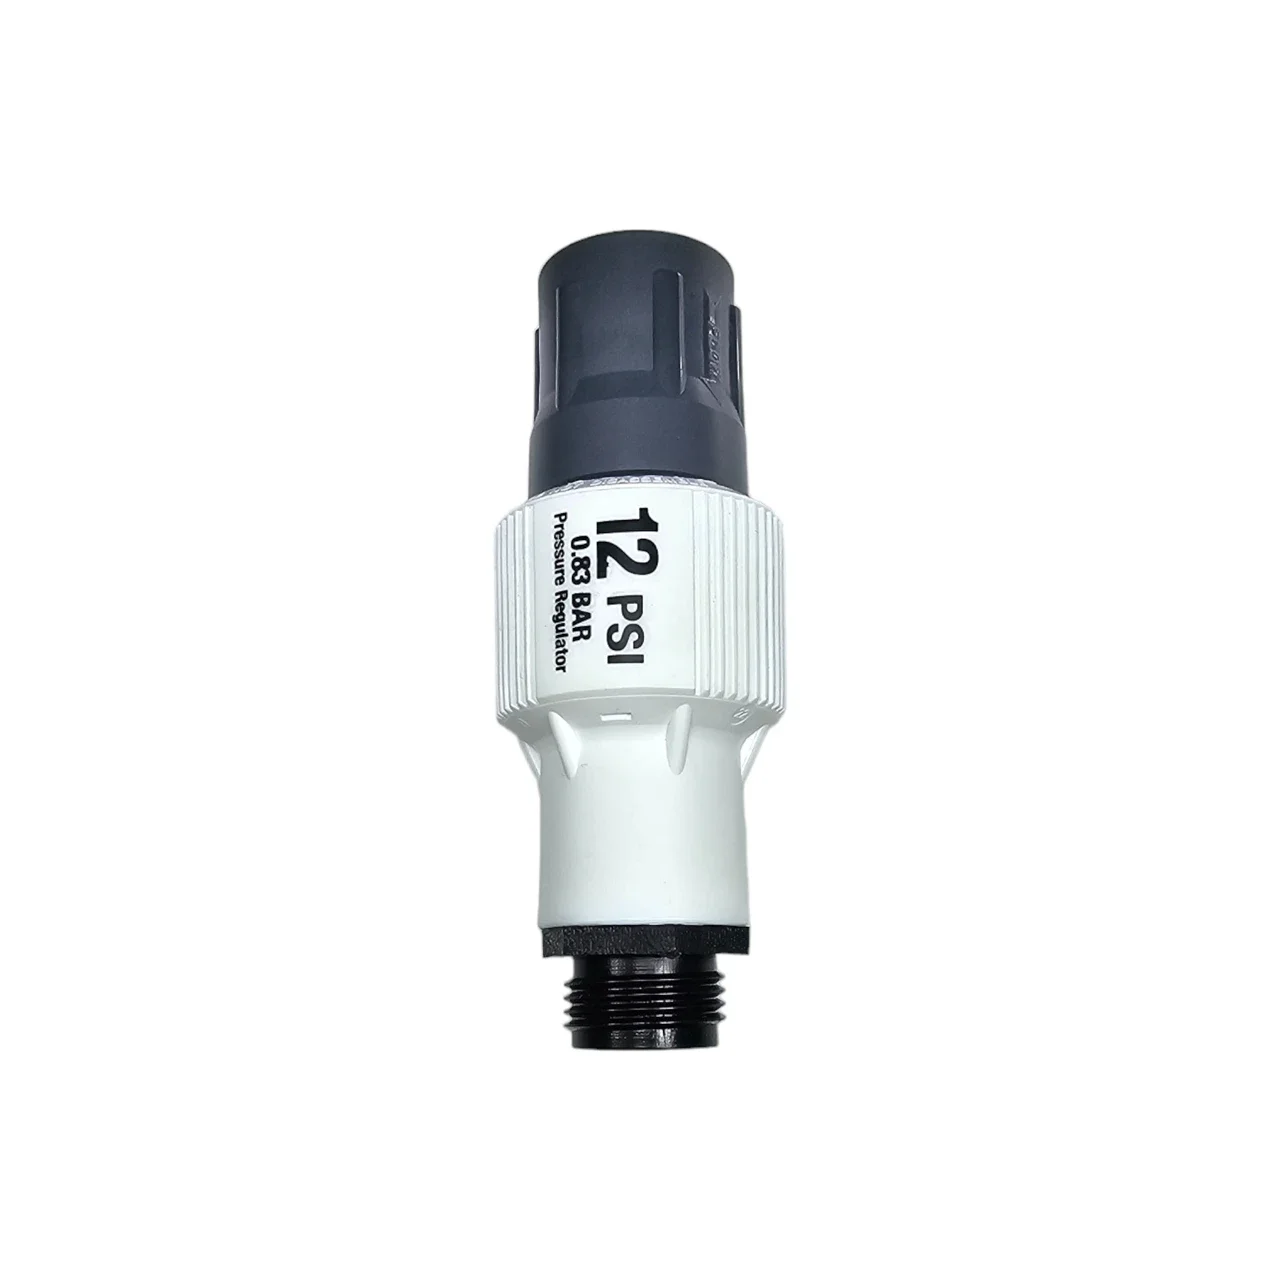
First things first, drip irrigation systems operate best at low pressure–between 10 and 20 PSI. Too little pressure, and the system won’t charge and emitters won’t drip. Too much pressure, and the system will leak and eventually the parts will break. Both residential spigots/bibs and city hydrants operate at far higher pressure than a drip irrigation system needs, so a PSI regulator is required. In many cases, fine tuning by partially closing the valve may be necessary. When doing so on a hydrant with a reduced pressure zone device (RPZ), the valve on the hydrant should always be completely open. I.e you should turn the nut on the top of the hydrant counterclockwise until it can’t turn anymore, completely opening the valve underground. Partially opening the underground valve can cause a leak, resulting in soil displacement, and a hefty repair bill. If you are partially opening a valve to fine tune pressure, make sure it is either at the RPZ or a part of your system.
Rain barrels or tanks can be used in conjunction with drip irrigation systems, as long as they can reach the requisite PSI. Raising barrels and tanks off the ground is helpful (it is ~.50 PSI for every foot raised) and a full tank produces more pressure than a low one, but a pump may be needed depending on the size of the area to be irrigated.
Design
Systems are designed to fit the plot. There is no one size fits all design that is replicated over and over, but there are trends that require the same approach. When designing an irrigation system, it is important to remember that there are infinite ways to design an effective system, and really only a few ways to do it wrong. Optimizing your materials and resources, and developing a simple and straightforward design are rules one and two. Stick with those, and your system will run smoothly and maintenance will be quick. Lastly, remember that systems are changeable–it is very easy to add or subtract portions of a zone as needed.
Raised or In-ground Field Beds
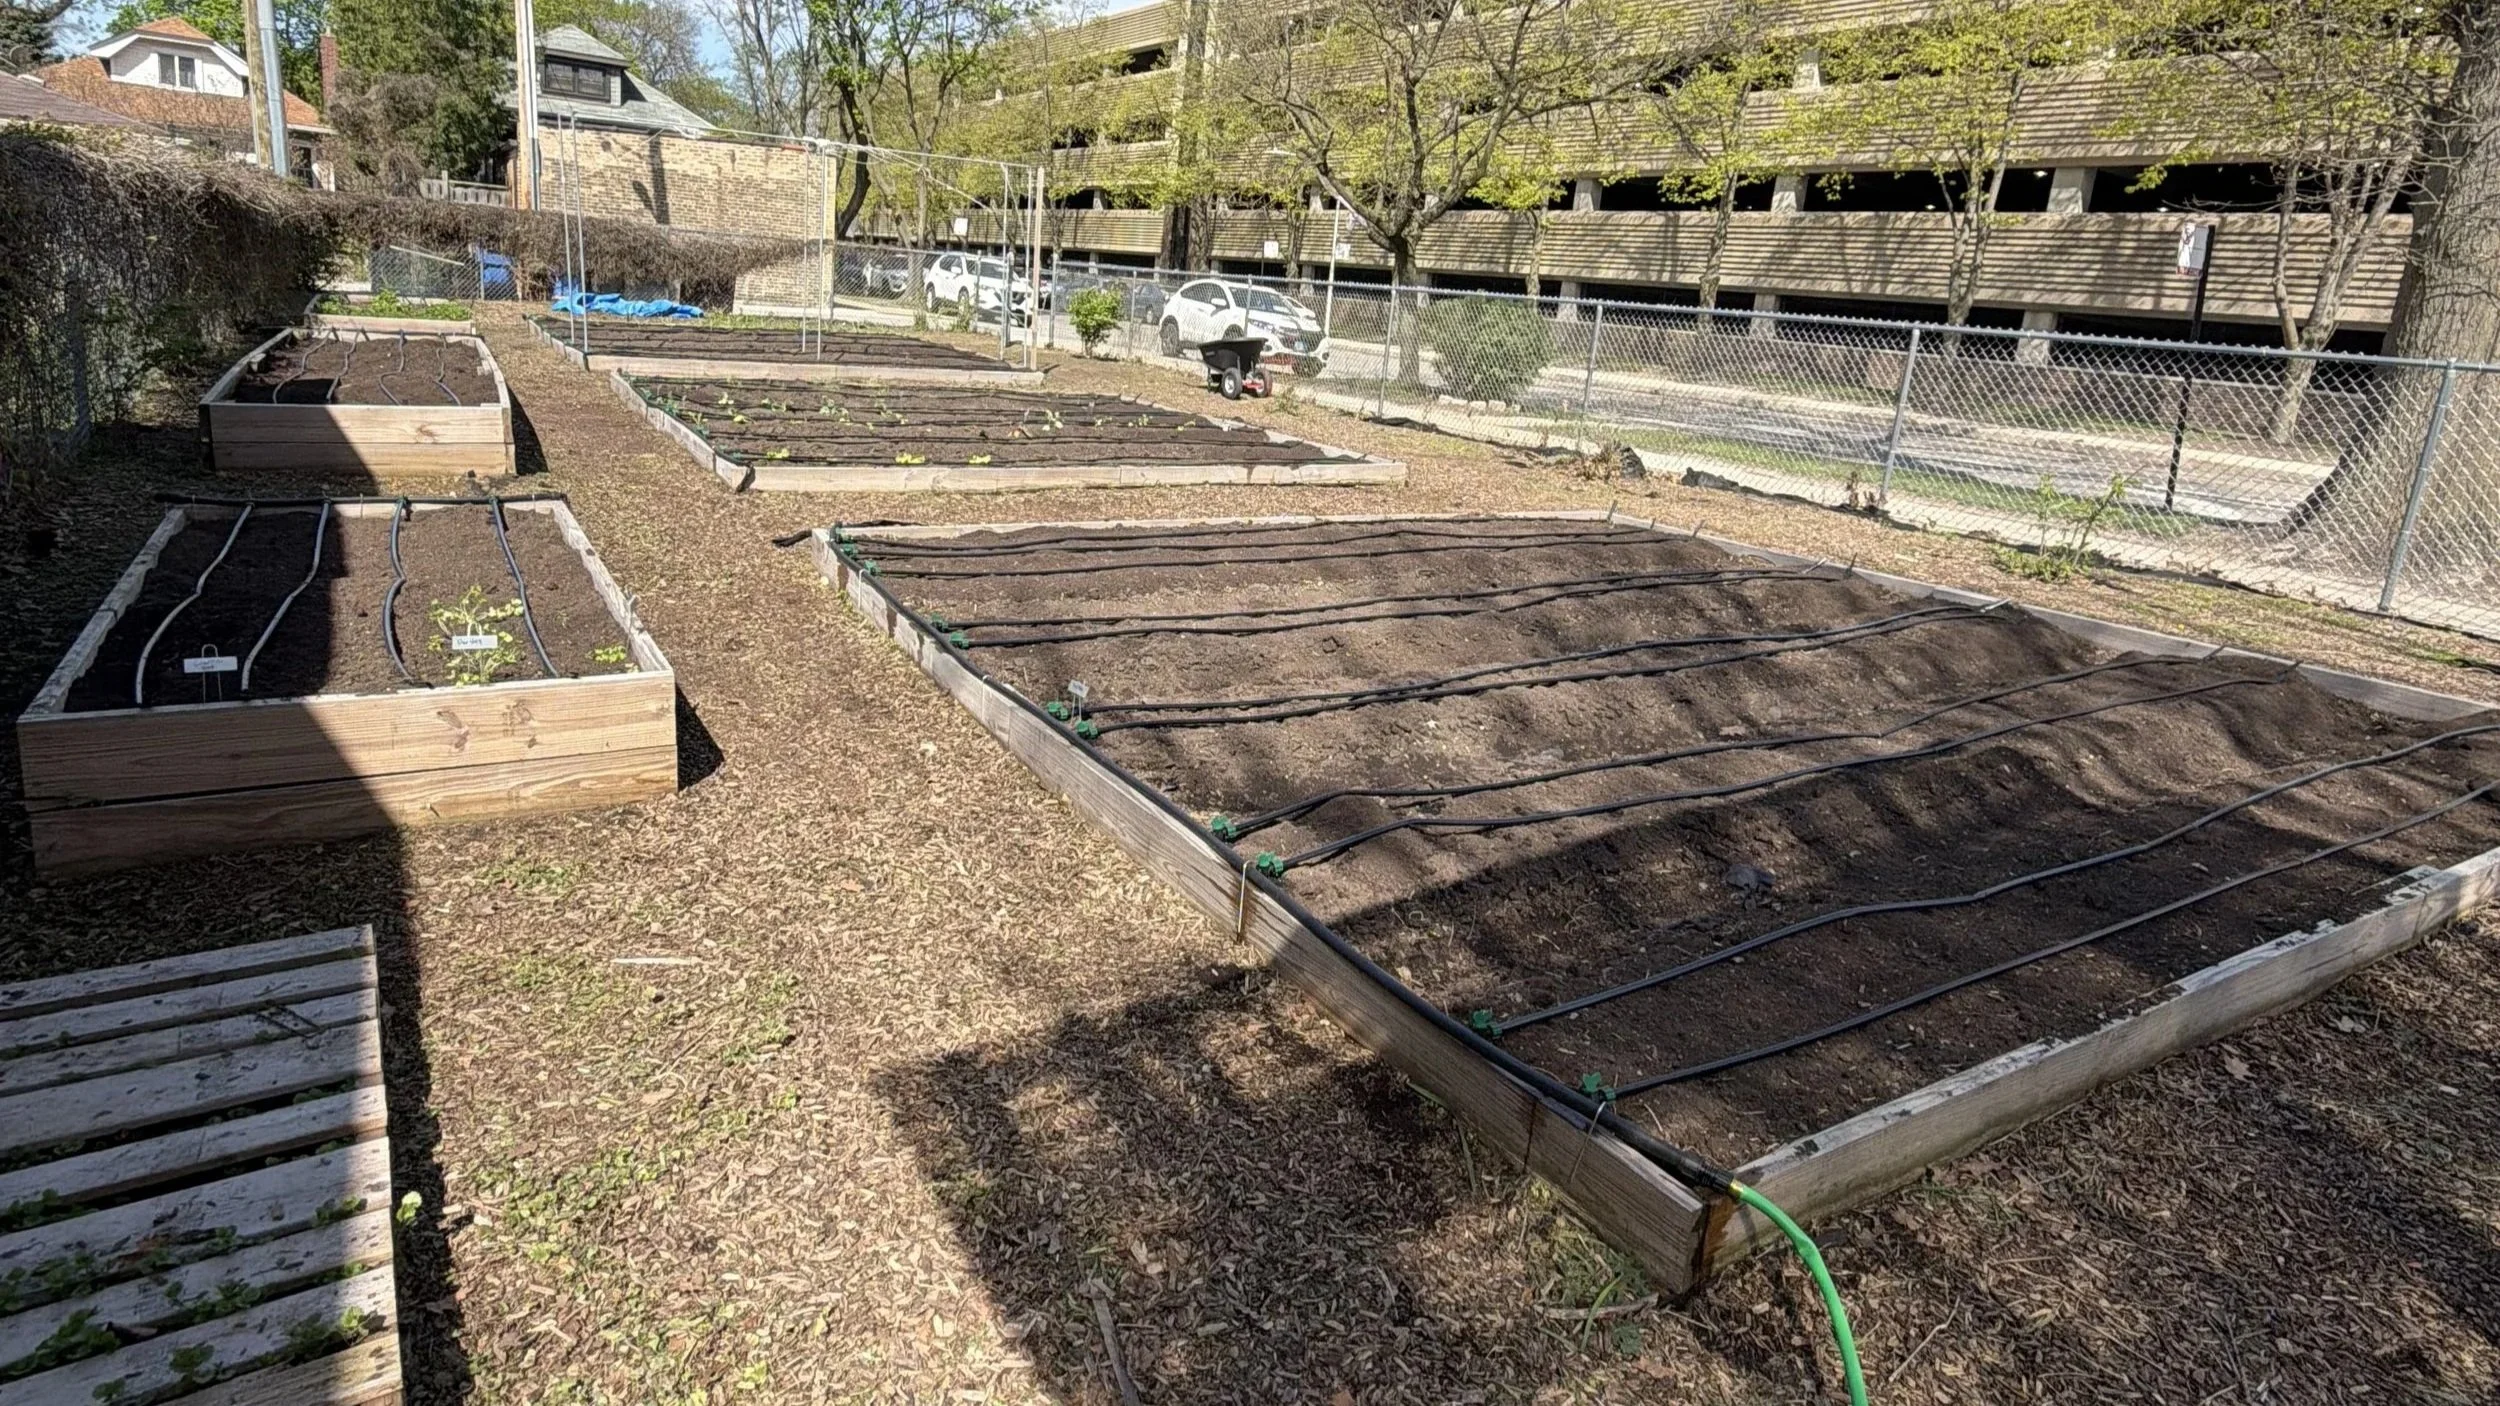
Raised field beds, containing multiple beds with walkways within the raised structure.
In Chicago, field beds are often raised to place a barrier like geotextile fabric and avoid contaminated soils, but not always. You will see some in-ground if the native soil has not be disturbed by development or industry. Either way, the approach to irrigation is roughly the same.
Fields containing multiple beds are the easiest to irrigate, because they require a single long header, and perpendicular connections to run the drip tape the length of the bed. Fields can also be linked by running the header between fields, creating larger zones that are fully automated.
More on site and system design later.
Raised Garden Beds
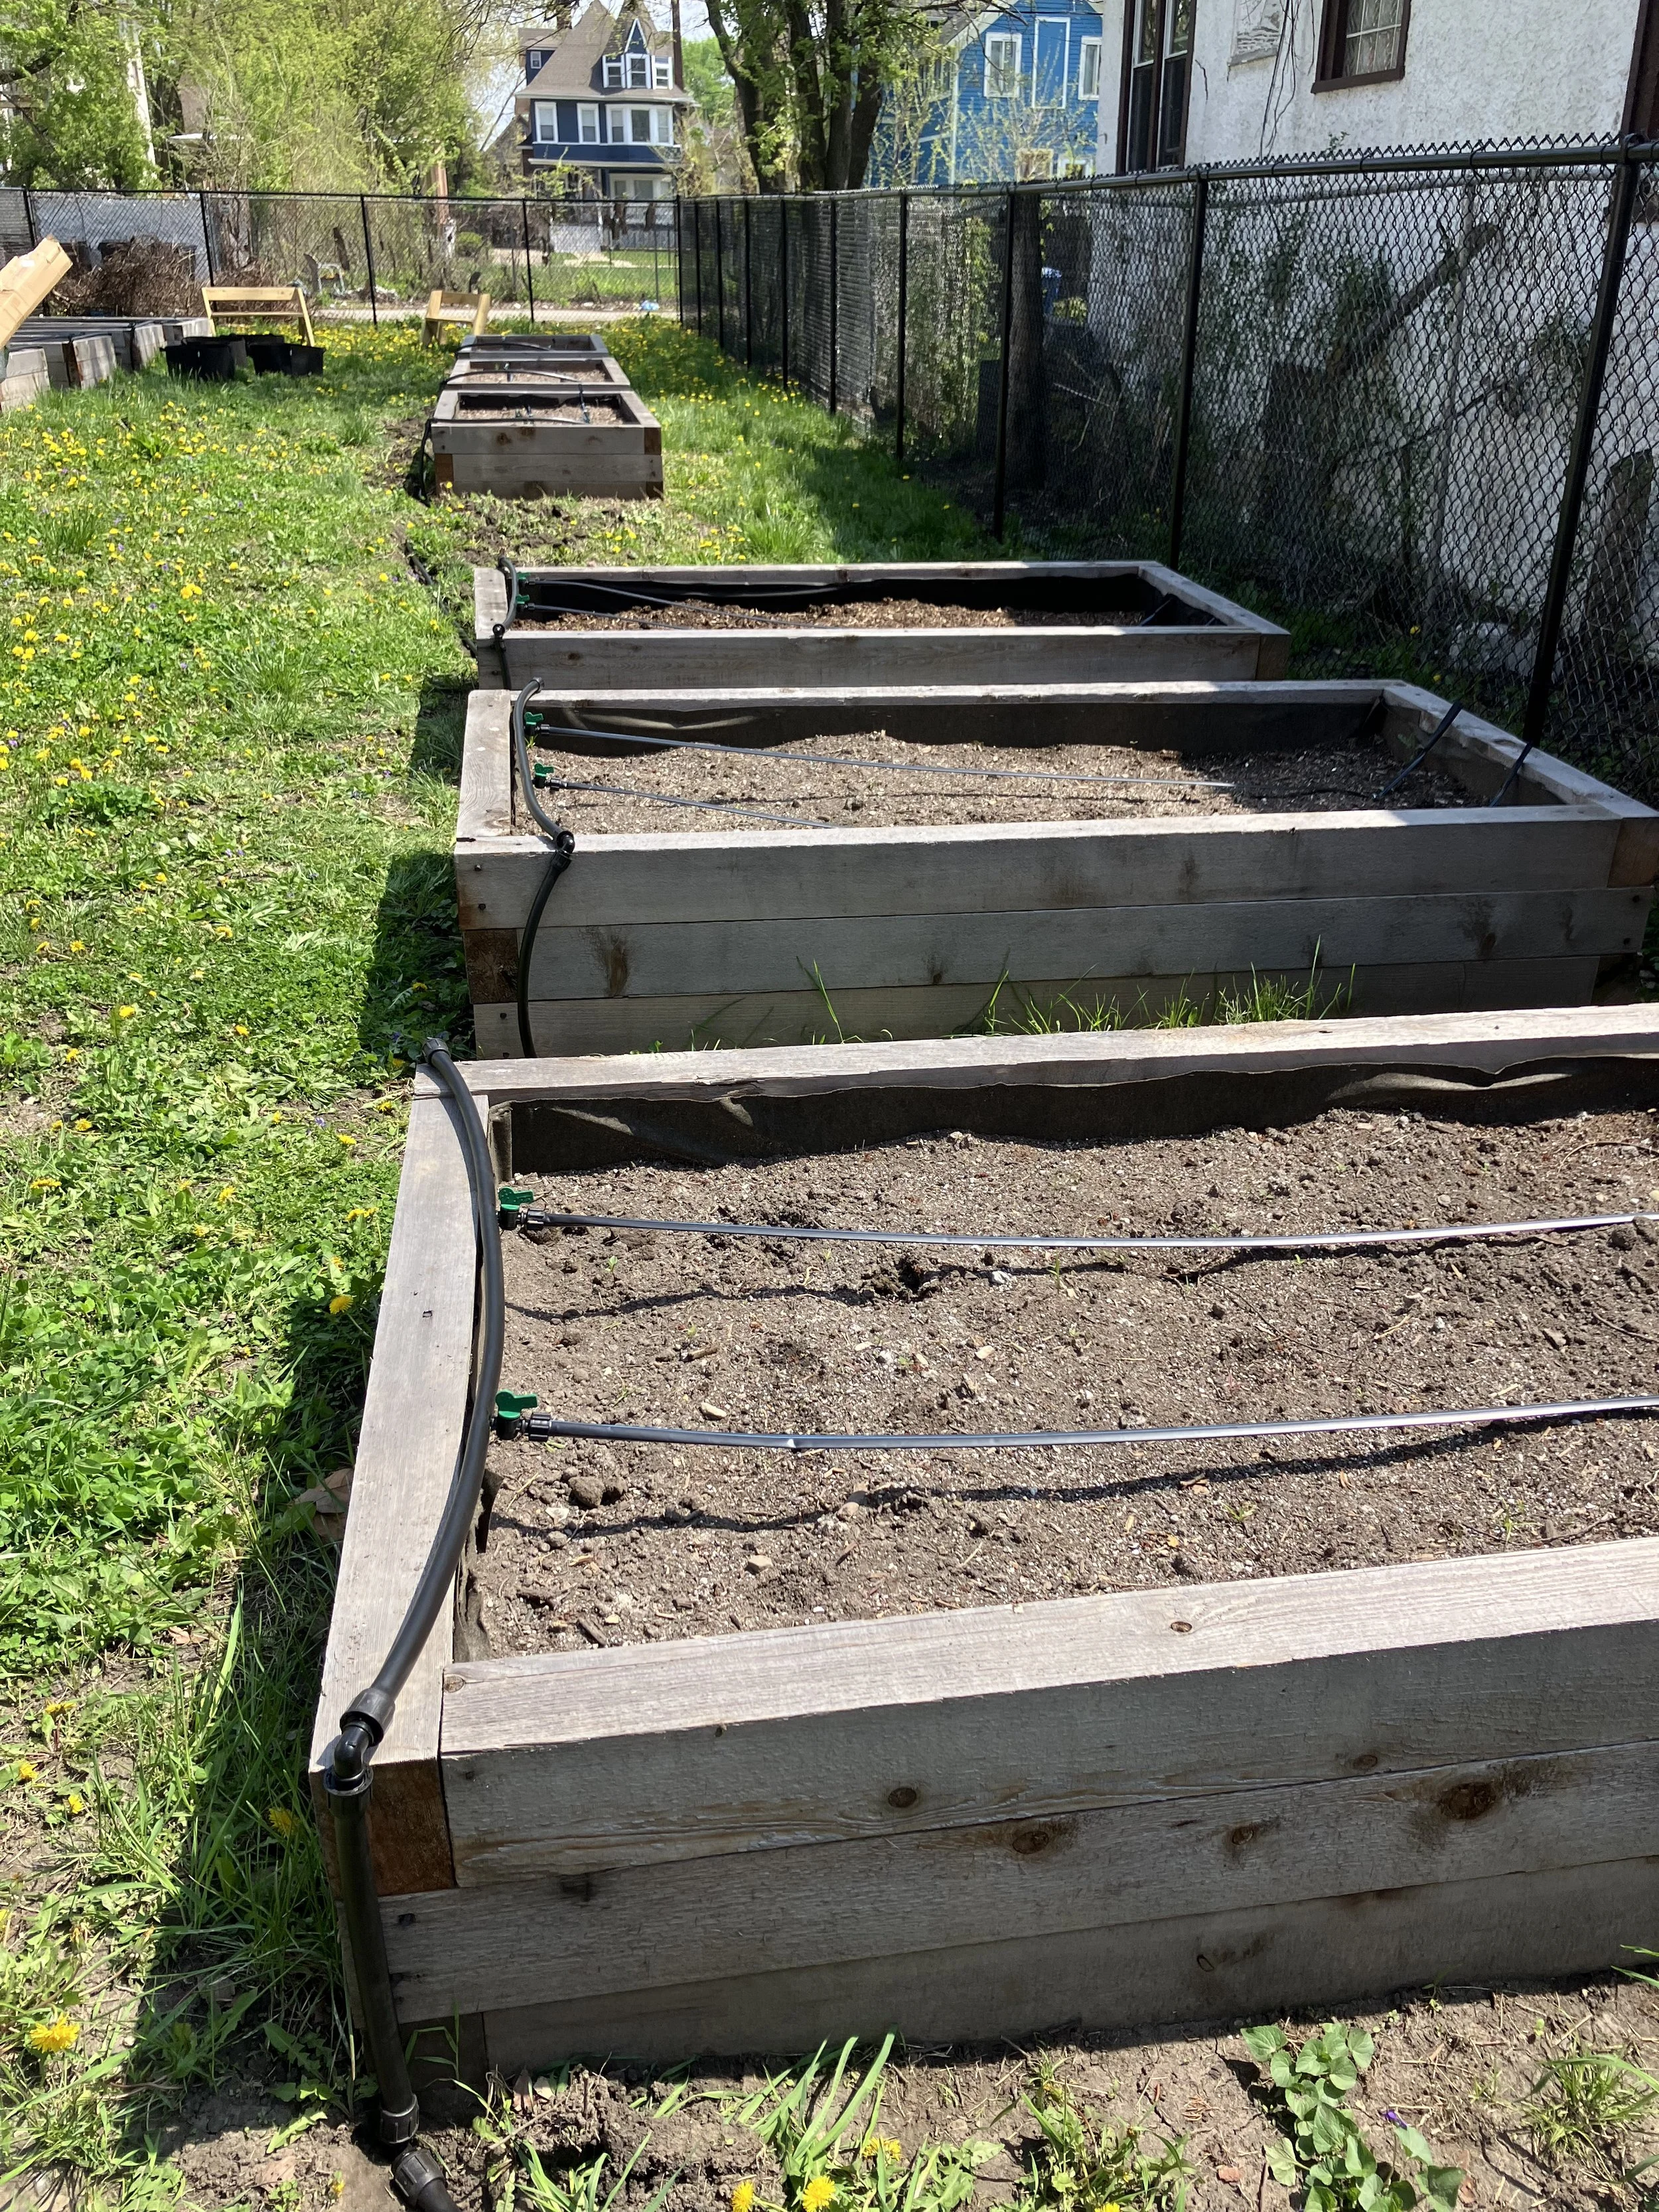
Raised garden beds are very common across Chicago.
Raised beds are both very easy to irrigate and very difficult. Raised like field beds to prevent contamination, raised garden beds are also raised to increase accessibility and ergonomics. Doing so is very important–because everyone should be able to be involved in their food system–but it often calls for a slightly more complex approach.
Given that there are multiple garden beds to irrigate, the header must run up, across, down, and between beds (which will likely require burying the header, but more on that later), taking a series of 90-degree right turns. This means a series of connections, and more places that require maintenance checks.
It is here that we have to decide what makes more sense for us, the growers:
Design a complex system to meet our needs–one that may require a lot more maintenance.
Simplify the system and go with an option like an oscillating sprinkler.
We’ll have to think critically about the system we intend to design, the effectiveness of that system, and about our capacity for maintenance over a growing season.
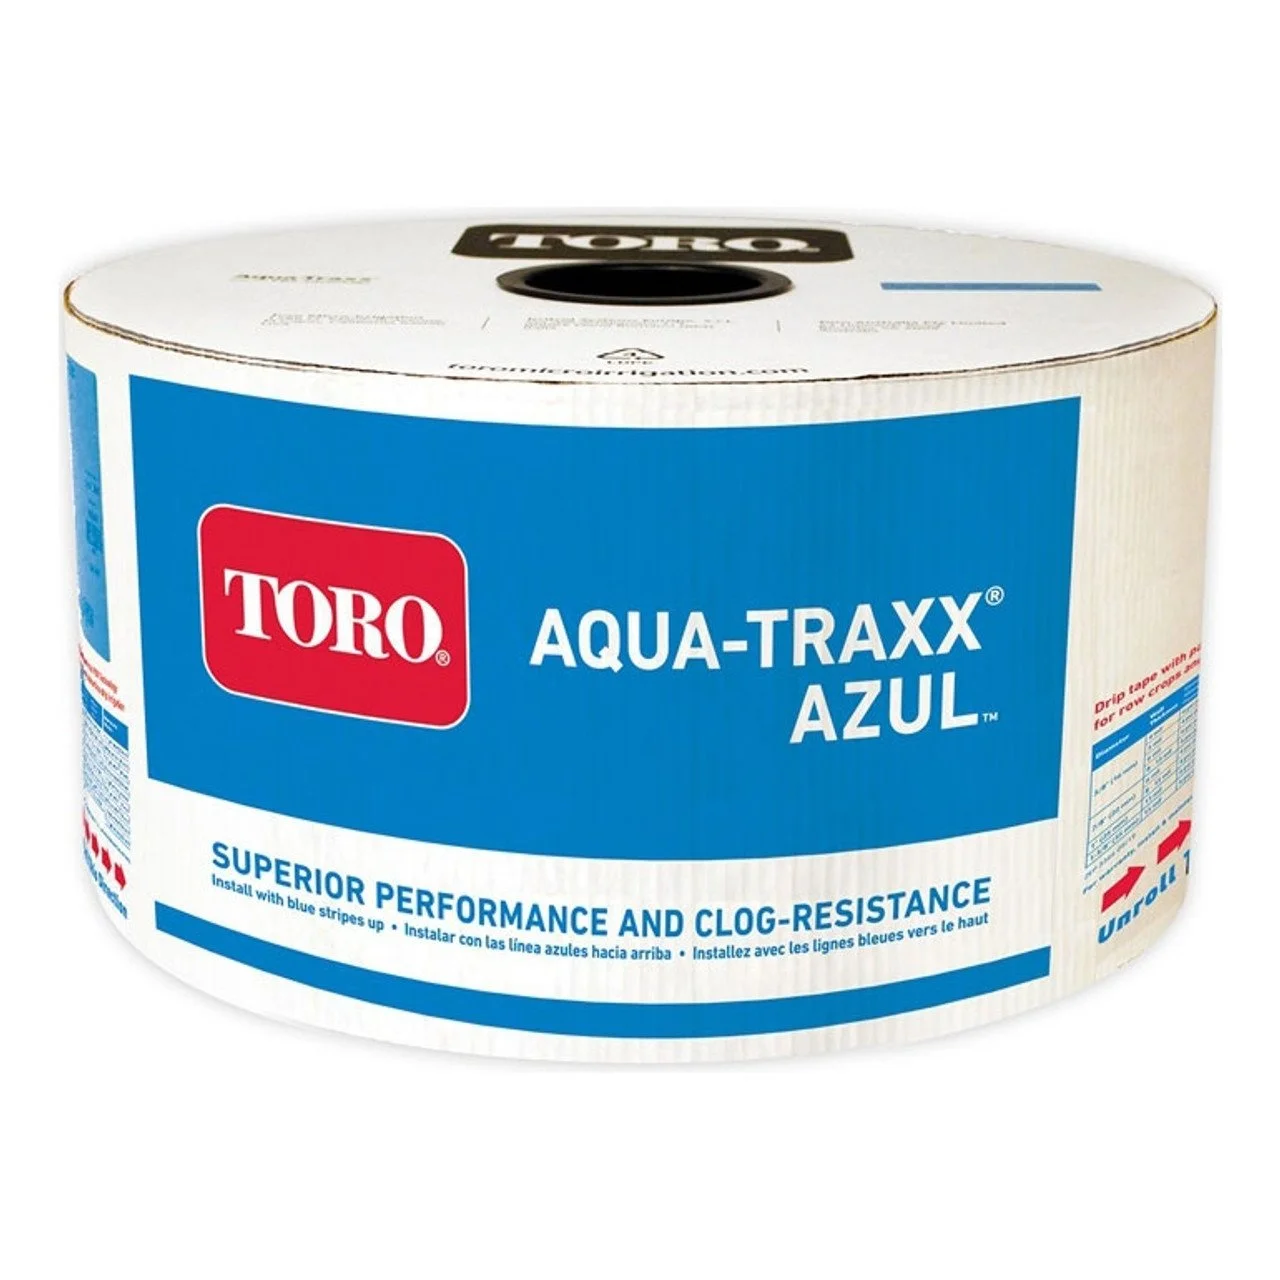
Materials
The following is a brief, non-exhaustive list of the principal components you will commonly find as a part of a drip irrigation system.
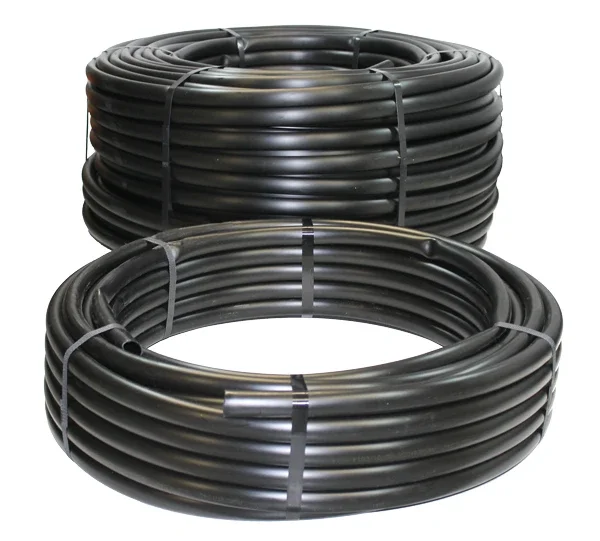
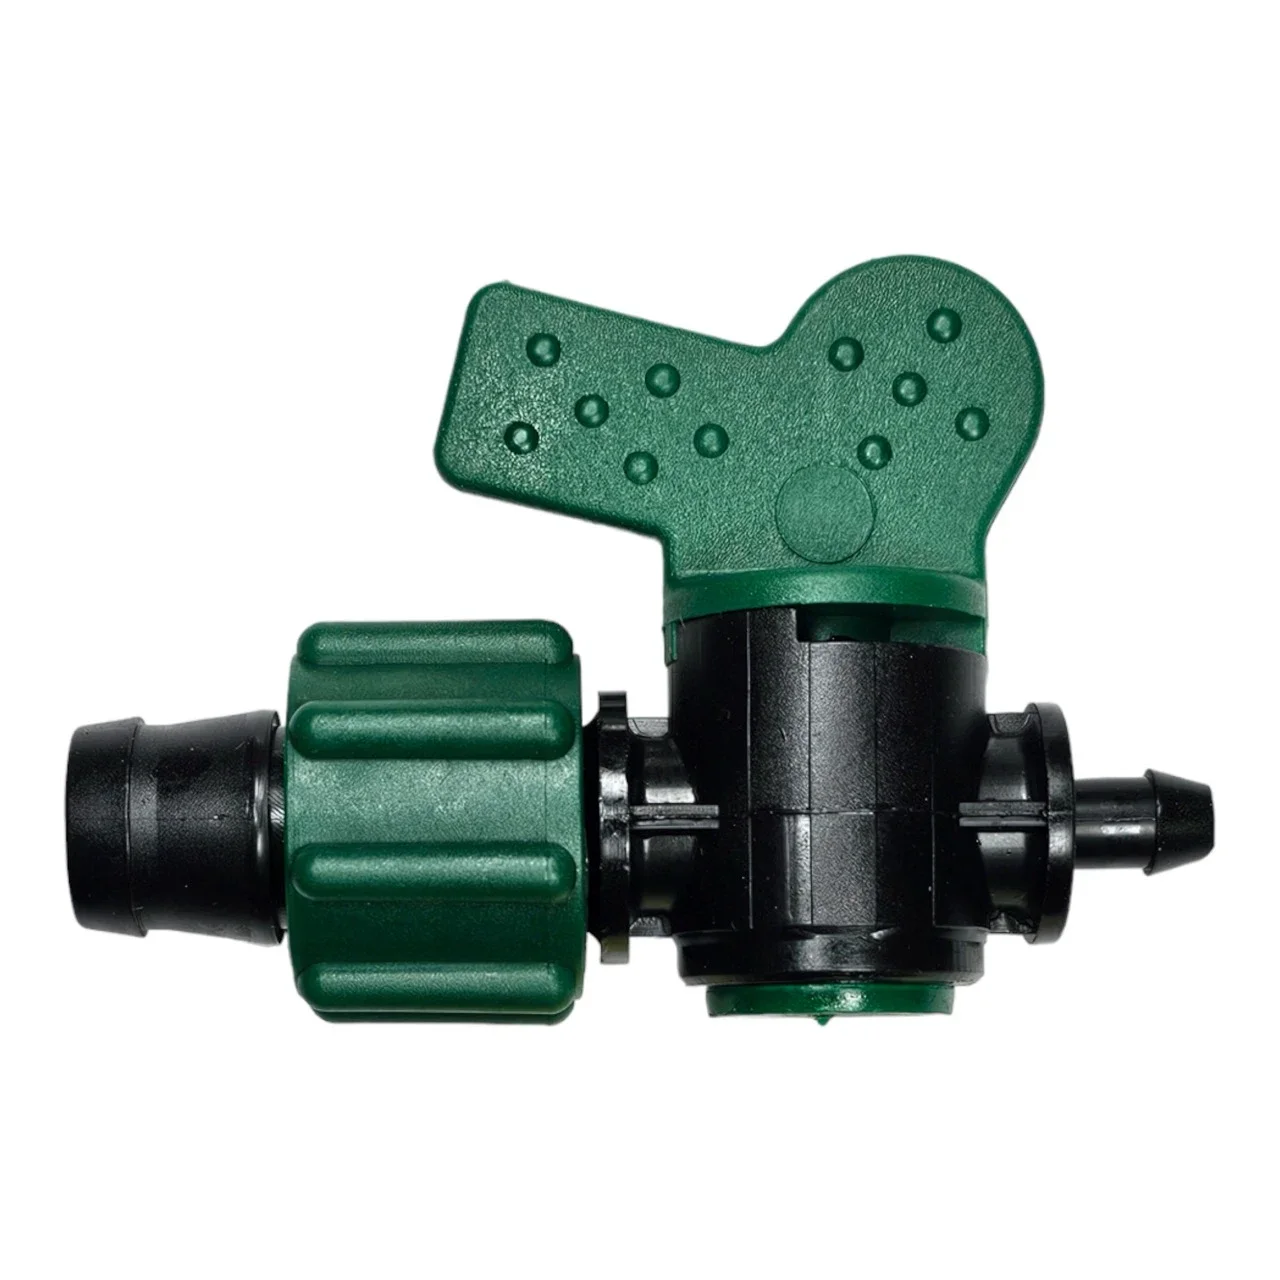
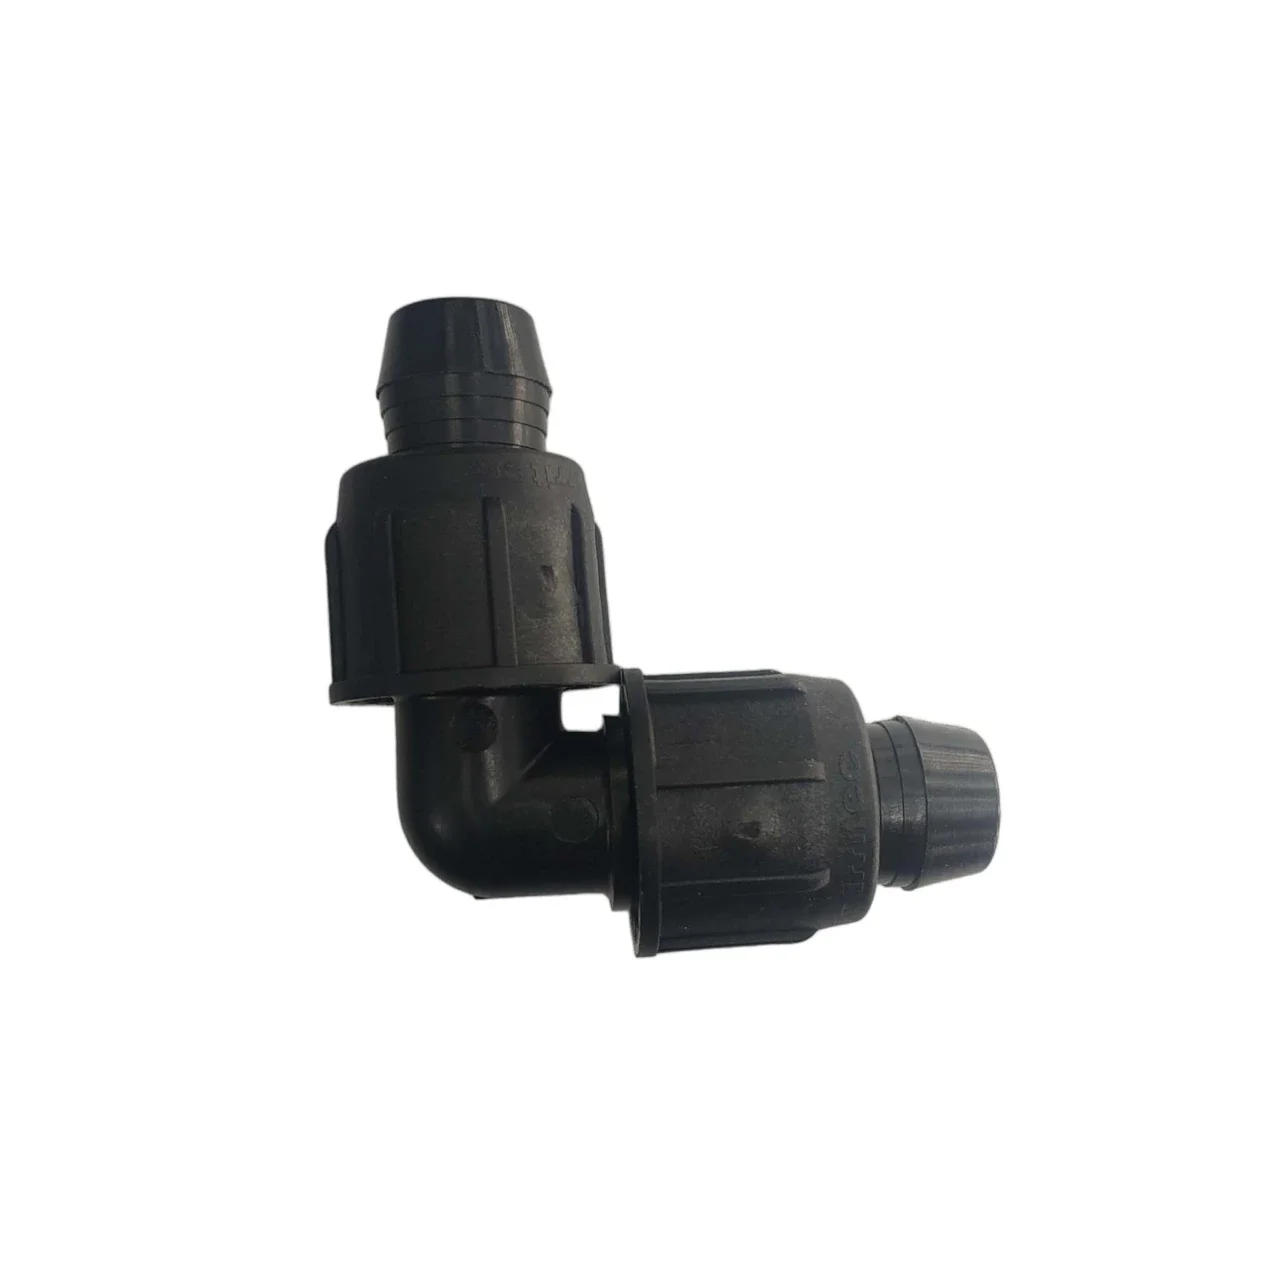
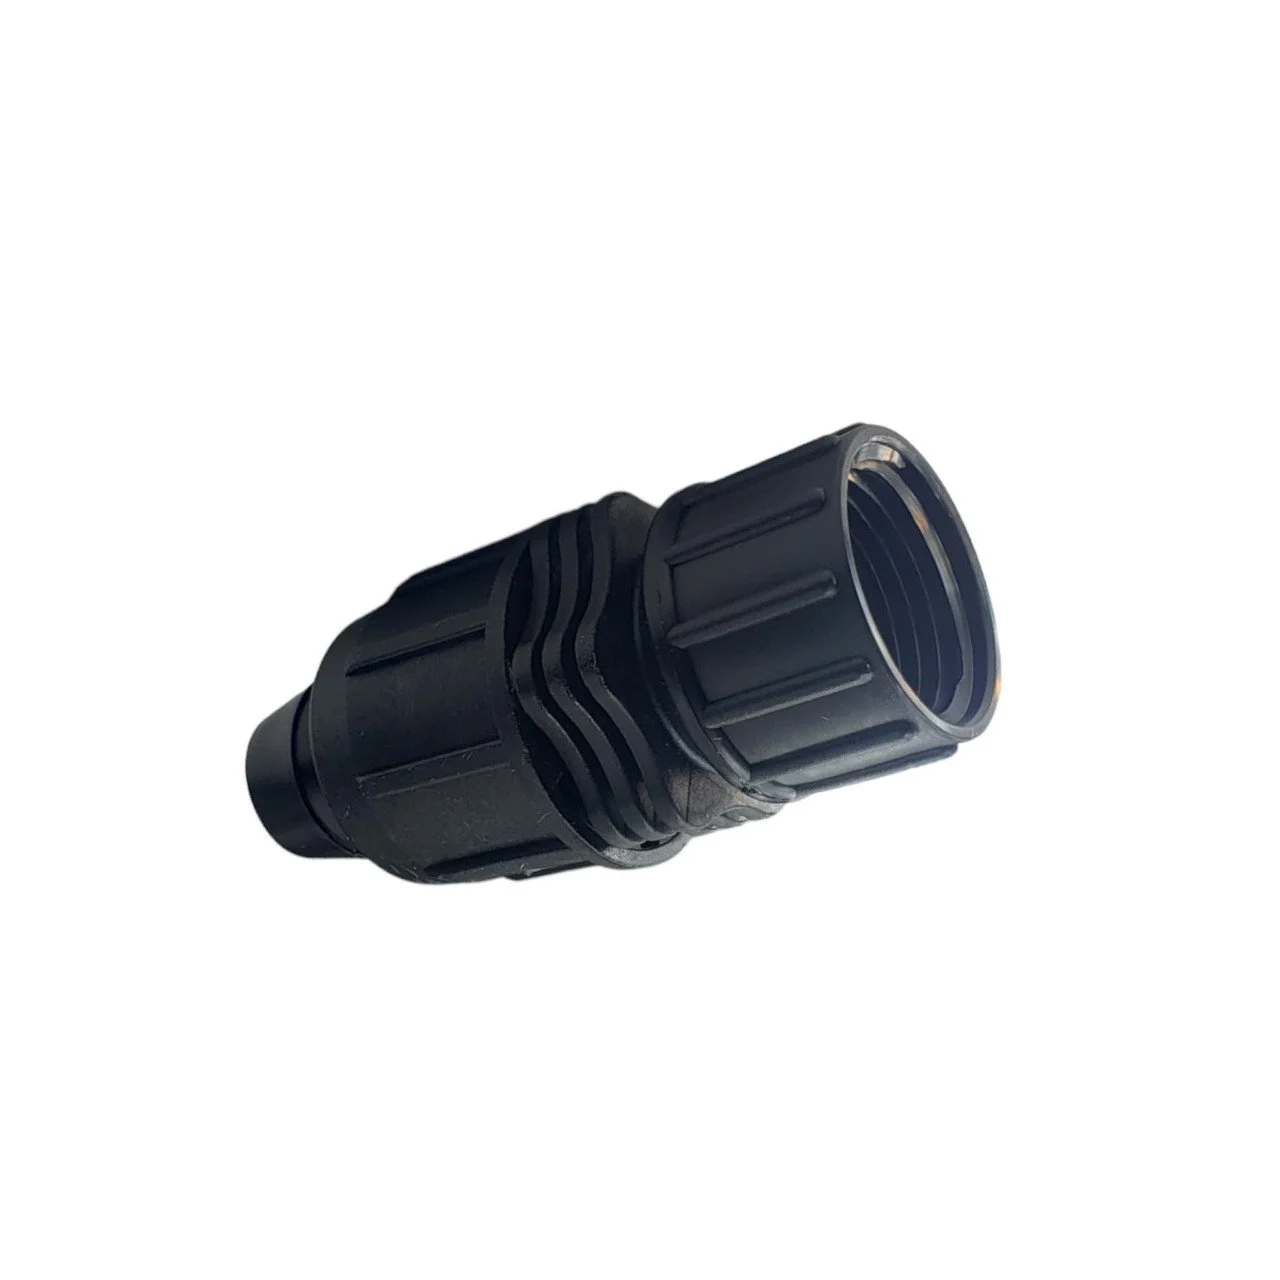
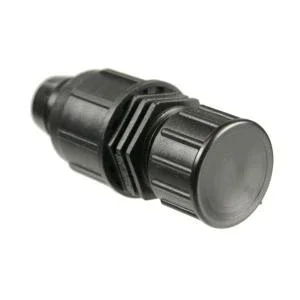
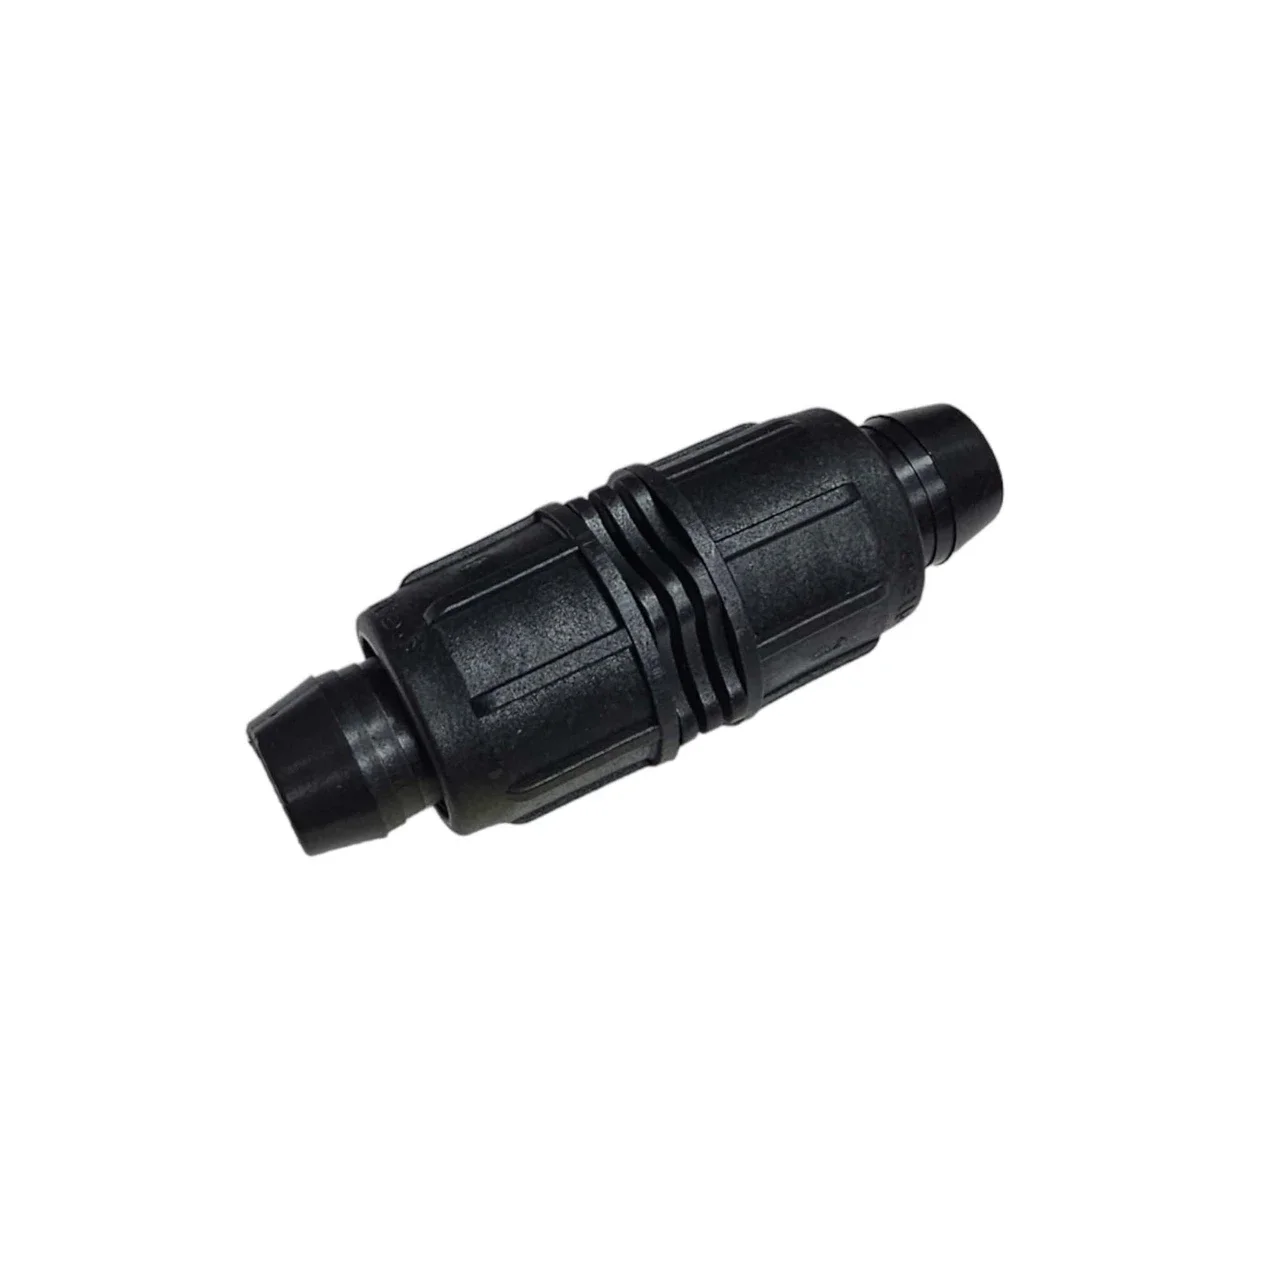
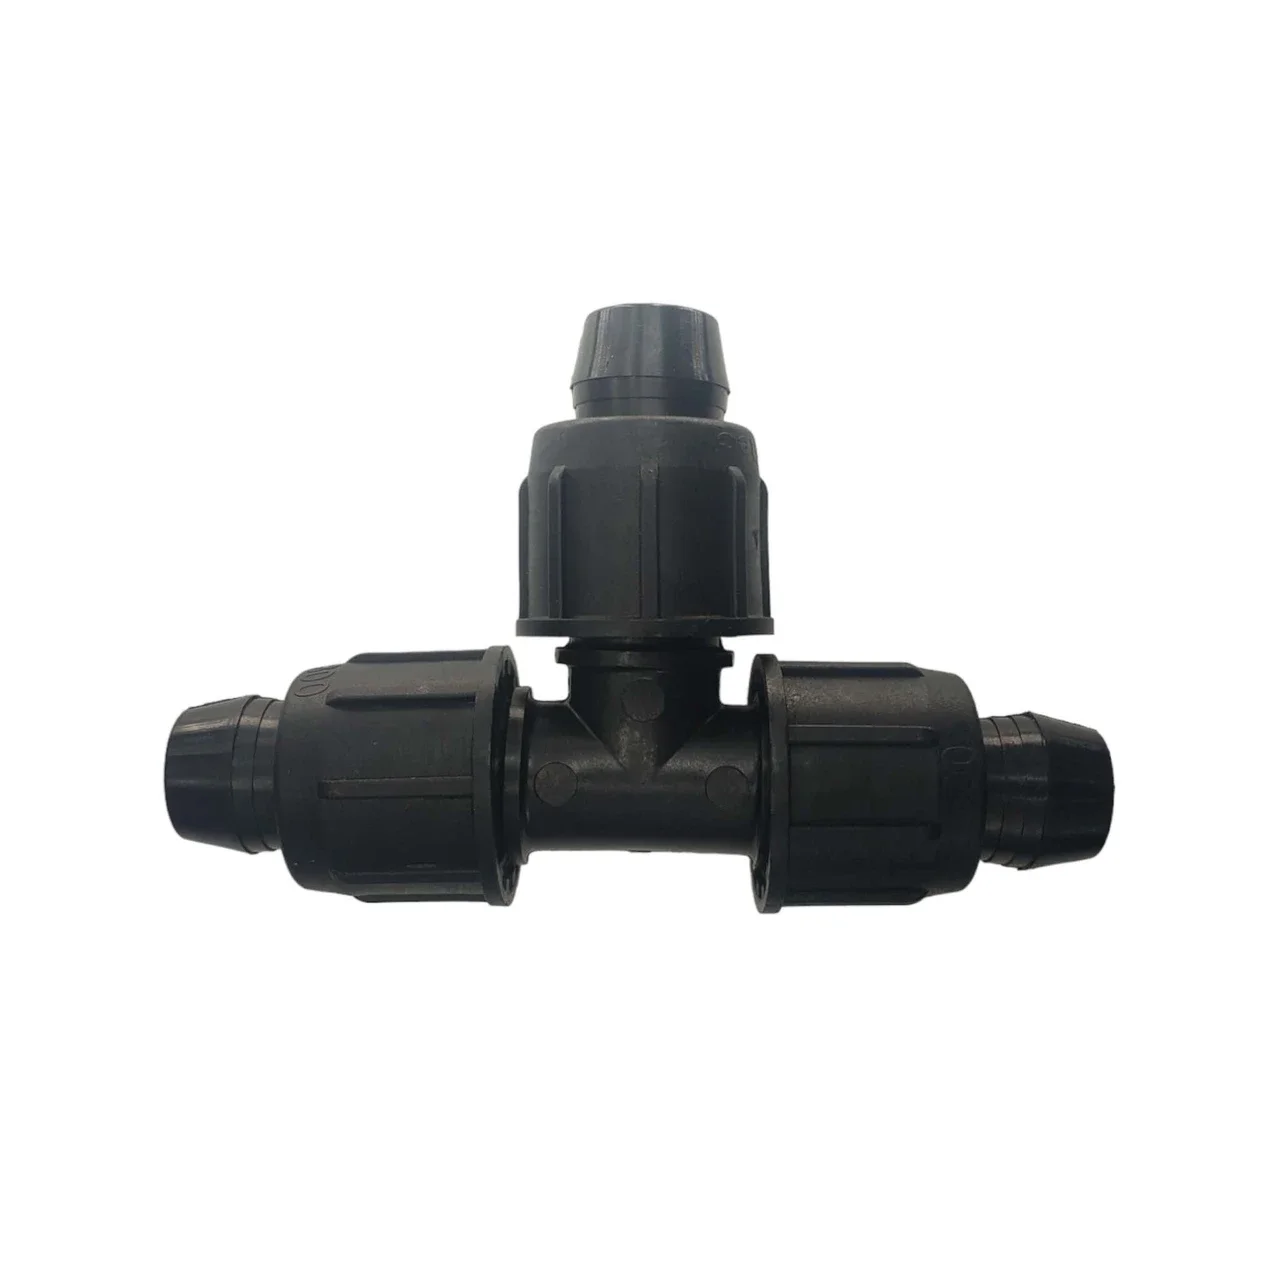

*All parts pictured above at ¾ inch.
**While common industry parlance, the use of gendered language when referring to plumbing parts can be avoided.
***Single use tools like punches can be helpful, but a serrated knife is very effective for both punching and cutting.
Dripworks, a company that sells materials for all sorts of irrigation systems, publishes free tools including plansandcalculators.
The Site
We would be remiss if we only talked about the system, and not about the design of the farm that the system is cut to fit.
Fields beds containing multiple beds that are both long and wide are significantly more optimal use of space by prioritizing growing space and minimizing lawn or impermeable surfaces. Moreover, the same amount of building materials (such as cedar lumber used for raised beds) generates much more growing area when arranged in large fields containing multiple beds as opposed to many smaller, individual raised beds.
When this isn’t possible or appropriate (due to accessibility or other needs), long beds are greatly preferable to wide beds or square beds. With a wide or square bed, a system using soaker hoses is a much better option than drip irrigation. Each connection (where a cut is made or a fitting is used) is a place where a leak can form, pressure can be lost, and maintenance will be inevitable. Remember, keep the design simple and straightforward.
Typically and despite an honest effort, farms are rarely ADA accessible. They are often pretty hazardous to workers as well. Irrigation systems contribute to the hazards by creating many trip risks and are often destroyed by mowers. We strongly advocate for burying the mainline tubing 2-3 inches when they run between beds, or wherever it may create a trip hazard. This presents a problem: if there is a leak, the mainline will have to be dug up and reburied. It is, however, a preferable solution to hazards presented by the irrigation system.
Maintenance
The following is a quick maintenance checklist you can implement on at your site:
Task: Installation of fittings and drip tape.
Interval: After the last hard frost, when your water can be turned on, or ~April 15.
Notes: Freezing weather can damage systems, equipment, and hydrants. Systems can be reinstalled, and tested once ambient temperatures are above freezing.
Task: Test the system.
Interval: Whenever a zone is completed, it should be tested. If there is a buried header, test before you bury.
Notes: Check each connection, the inflation of the drip tape, check for leaks, and make sure the entire system is charging. This is done by going to the furthest point and seeing a properly functioning system.
Task: Site walk to check for leaks.
Interval: Weekly, and whenever a bed tended to (after harvests, after weeding, after mowing, etc.)
Notes: If there is damage to the header or drip tape, either repair it with a sister or recycle it. Leaks always get worse.
Task: Fittings and drip tape removal for winter storage.
Interval: By first hard frost, when your water access method calls for cessation of use, or October 31.
Notes: The Hydrant Permit Policy states that RPZs should not be used in freezing weather. It is at that time that your system should also be stored to prevent damage.
Task: Redesign of the system to meet your garden or farms’ needs.
Interval: Anytime, but with special emphasis outside of the growing season.
Notes: This can happen anytime, but is best done when there are no plants growing, and when you can give the design your focus.
If you have any questions, thoughts, or concerns you are welcome to contact us at water@auachicago.org or visit the Water Access Program page for more information on all things water access.